A smaller, more useful home tea kit
Start with tools that help you measure, strain and repeat.
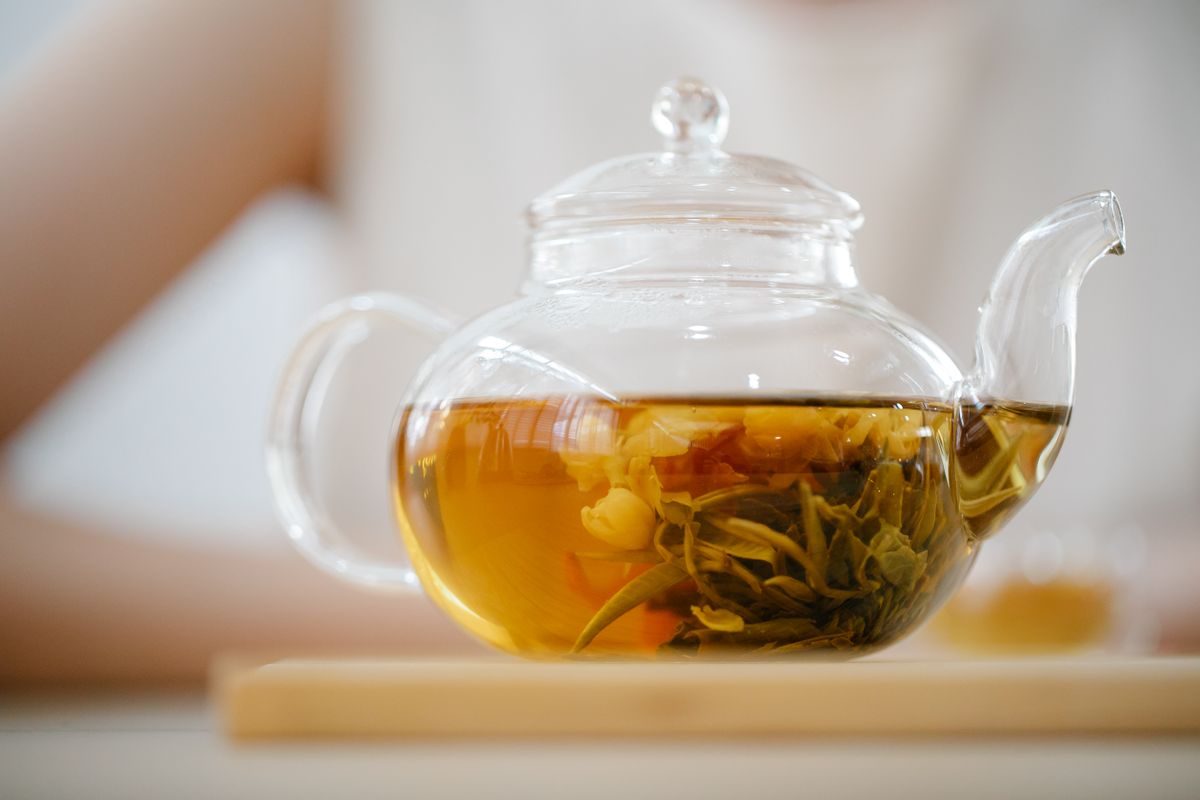
Illustrative stock photograph · Anna Pou / Pexels · Photo credits
From ingredients to your next cup.
Follow the sequence. Select a step to read its full instructions.
- 01Pick a drinkChoose the first complete guide you will make
- 02Check toolsBrewing, measuring and straining come first
- 03Read labelsCheck tea, toppings, allergens and storage
- 04Set upSeparate the hot preparation and serving areas
- 05RepeatKeep tools and a compact brewing record together
All sections in this guide
Begin with what you own
A heat-safe brewing vessel, a small saucepan if needed, a strainer, a timer and a measuring jug cover many drinks. A kitchen scale improves repeatability, especially for tea and sugar. You do not need a commercial shaker to learn how a tea base behaves.
Buy one tea and one topping
Choose a tea with readable brewing directions and pearls with clear preparation and storage information. Check pack sizes against how often you will make drinks. Several half-used toppings create waste and make it harder to isolate what changed in a cup.
Read labels before substitutions
Compare sweetened and unsweetened milk alternatives, allergens and refrigeration requirements. Do not treat “non-dairy” as enough information for someone with an allergy. Keep packaging available when serving others so they can review the ingredient details themselves.
Build a repeatable station
Keep the timer, scale and notebook together. Wash equipment before use and leave a clear draining area. Add tools only when they solve a problem you have observed, such as a fine sieve for persistent matcha clumps.
This guide contains no affiliate links or paid product recommendations.
Build a kit around one complete drink
Pick the first guide you actually intend to make and trace each step. Can your vessel safely brew and pour hot tea? Can you measure a small syrup addition? Can the strainer handle the leaf size? Buy or reuse tools to solve those jobs rather than collecting every accessory associated with bubble tea. For a first milk tea without pearls, the saucepan may be unnecessary.
For pearls, pot capacity and safe draining matter more than a decorative serving glass. This guide recommends tool functions, not paid products.
Check scale and measuring limits
A kitchen scale suitable for a large batch may not reliably distinguish a very small matcha dose. Check its resolution and instructions before relying on the displayed number. Use a jug with readable marks for larger liquid volumes and a suitable small measure for syrup.
Weigh ingredients separately when learning a formula so an accidental addition is easier to identify. Do not claim laboratory precision from ordinary kitchen tools. Consistency in the method is more useful than reporting extra decimal places the equipment cannot support.
Keep a hot zone and a serving zone
Place the kettle, brewing vessel and pot where hot liquid can be handled without reaching across a finished glass. Clear the route to the sink before draining pearls. Keep cold milk and prepared fruit away from hot equipment until needed, following their storage directions.
Wash reusable straws and narrow tools according to their maker’s cleaning guidance. Inspect glassware for damage and use heat-safe vessels for hot preparation. These simple decisions make the workflow easier without requiring a dedicated tea counter.
A short buying checklist
Read tea preparation directions, pearl batch size and timing, milk ingredients and storage, and sweetener units before buying. Choose quantities you can use sensibly rather than assuming a wholesale bag is better value. Keep labels so later adjustments refer to the exact product.
When serving guests, let them review allergens rather than guessing from a category name. Add a fine sieve only if your chosen preparation benefits from it; add a second timer only if you repeatedly run two timed stages. A notebook can be a paper card or a plain text file.
Sources & scope
These references support the specific preparation and handling topics described above. They do not establish that our proposed combinations have been kitchen-tested. Ingredient labels take priority.
Keep perishable ingredients refrigerated as directed. FDA guidance gives a two-hour room-temperature limit for foods needing refrigeration, or one hour above 90°F, and a refrigerator temperature of 40°F or below. This is not a validated shelf life for an assembled drink.
Keep exploring
Questions or corrections? Email the editor.