Small-batch syrup, measured by weight
Make sweetness easier to repeat from one cup to the next.
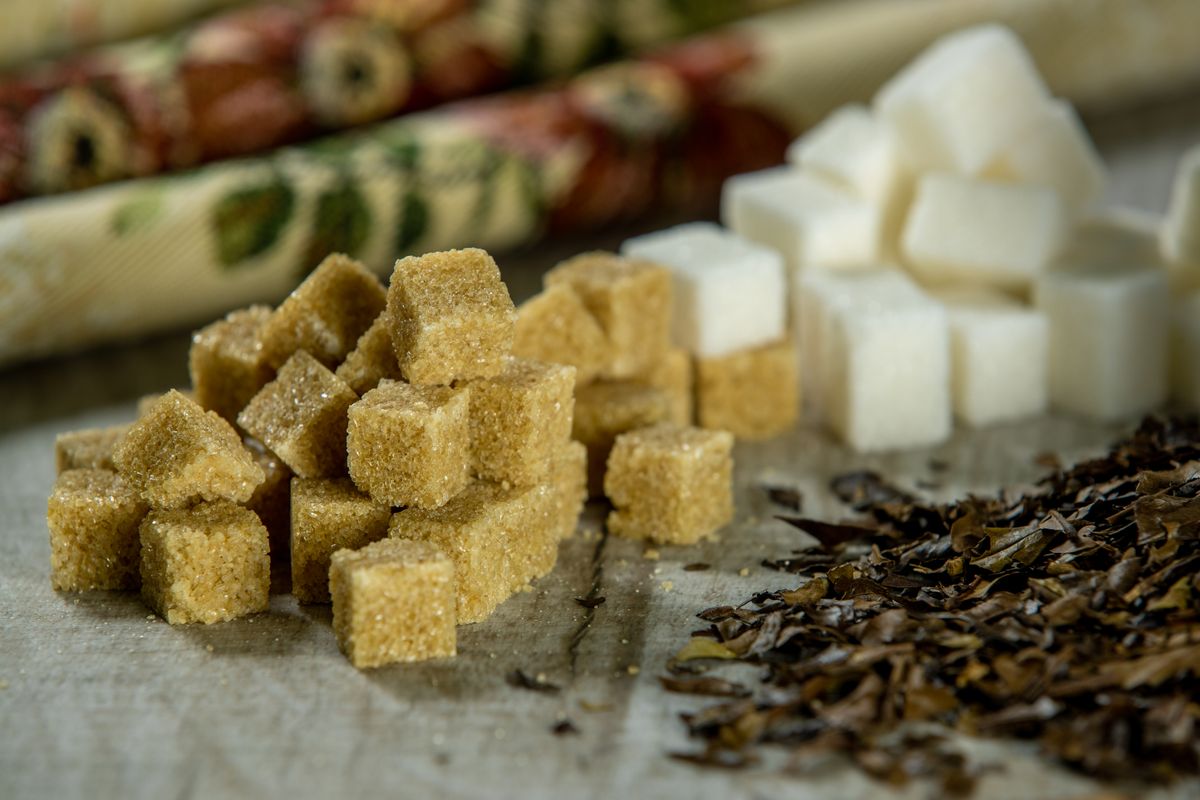
Illustrative stock photograph · Sergei Starostin / Pexels · Photo credits
From ingredients to your next cup.
Follow the sequence. Select a step to read its full instructions.
- 01Weigh40 g sugar + 40 g water; ratio by mass
- 02DissolveWarm gently; do not reduce by prolonged boiling
- 03CoolUse a clean heat-safe covered container
- 04LabelWrite ingredients and preparation date
- 05DoseStart small; stir and taste before adding more
All sections in this guide
Choose a clear definition
For a small 1:1 syrup proposal, weigh 40 g granulated sugar and 40 g potable water. The ratio here is by mass, not volume. This method has not been kitchen-tested.
Use a clean heat-safe vessel and avoid adding botanicals or dairy, which would change both flavor and storage considerations.
Dissolve without reducing
Warm gently and stir until dissolved, then remove from heat. A prolonged boil evaporates water and changes the concentration. Let the syrup cool safely in a clean, covered container.
Never pour very hot syrup into a vessel that cannot withstand thermal shock.
Dose the drink in stages
Start with 5 ml in a single serving and taste before adding more. Syrup made with a different ratio will not behave the same way teaspoon for teaspoon. Write the ratio on the container and keep your measuring spoon consistent between batches.
Keep storage conservative
Label the preparation date, refrigerate promptly and make small batches. This article does not establish a validated shelf life. Follow applicable food-safety advice and ingredient directions; discard uncertain batches rather than tasting them to judge safety.
A clean appearance cannot establish that food is safe.
Weight and volume are different formulas
Our starting batch uses 40 g sugar and 40 g water, measured by weight. A recipe calling for equal cup volumes is a different formula because a cup of granulated sugar does not weigh the same as a cup of water. King Arthur’s published syrup recipe illustrates this distinction with separate gram weights.
Do not describe both methods simply as one-to-one without naming the units. Label your own jar with the actual sugar and water weights so the sweetness is repeatable when a drink calls for a measured syrup amount.
Equipment and a gentle method
Use a small saucepan, a scale, a clean stirring tool and a clean heat-safe container. Weigh the water and sugar separately, then combine. Warm gently and stir until the granules are dissolved; a prolonged hard boil is unnecessary for this proposed drink syrup and can change the concentration through evaporation.
Let the syrup cool before transferring it safely. Hot sugar liquid can burn, so avoid splashing or pouring into a container that is not designed for heat. This guide does not provide canning or shelf-stable preservation instructions.
Choose a sweetener for its actual role
White sugar gives a relatively neutral starting point; brown sugar adds its own flavor and color. Honey, maple syrup and commercial fruit syrups have different water content and intensity, so replacing them milliliter for milliliter is a new variation. Add a small amount to a cooled sample of tea first rather than committing an entire batch.
A richer syrup also changes the amount of water entering the drink. Keep the ingredient name and formula in your notes, particularly when comparing two versions of milk tea.
Use small batches and label them
Make only what you can reasonably use under suitable handling guidance. Date the container and record ingredients; do not assign a shelf life from this untested guide. Refrigerate promptly as appropriate and consult a validated recipe for a defined storage period.
Discard suspect syrup instead of tasting it to investigate. For a single glass, begin with a smaller measured dose and add more after stirring. If sugar crystals remain, check whether they dissolved during preparation before deciding the finished drink simply needs extra syrup.
A quick troubleshooting reference.
| What you notice | What to check next |
|---|---|
| Sweetness varies | Record whether the ratio is by weight or volume. |
| Batch reduced | Avoid prolonged boiling that changes the water amount. |
| Crystals remain | Check dissolution rather than assuming the drink needs more syrup. |
| Storage uncertain | Use suitable handling guidance; this guide gives no shelf life. |
Sources & scope
These references support the specific preparation and handling topics described above. They do not establish that our proposed combinations have been kitchen-tested. Ingredient labels take priority.
Keep perishable ingredients refrigerated as directed. FDA guidance gives a two-hour room-temperature limit for foods needing refrigeration, or one hour above 90°F, and a refrigerator temperature of 40°F or below. This is not a validated shelf life for an assembled drink.
Keep exploring
Questions or corrections? Email the editor.